Wednesday, November 11, 2020

Altenew Educators "Floral with Geometric Elements" Blog Hop and Linky Party + Giveaway


 Hello Everyone

Thank you for stopping by . You are here from Amber Rain Davis . Isn't she lovely!!

Today I want to share my four cards which I made with geometric backgrounds and some Floral stamps


CARD 1:


MATERIALS:

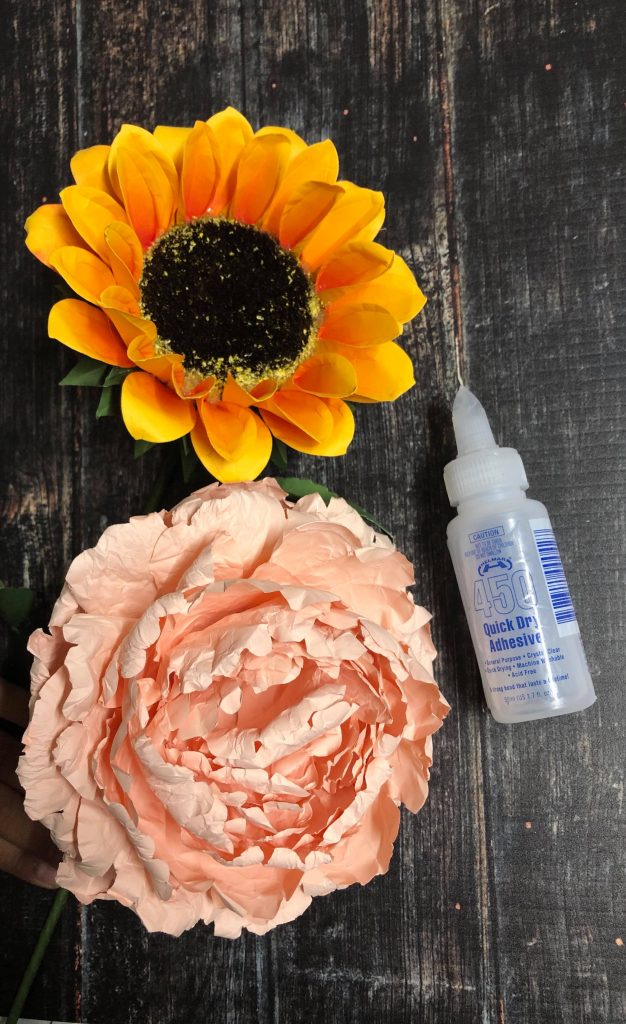
Carved Rose stamp and Die Bundle
Circled Greeting; Thanks Die
Shine like a Star Background Stamp
Sequins Antique Gold
Gold Embossing Powder
Inks; Parrot Green, Autumn Blaze and crimson also Greenfields Ink pads set for Leaves
Neenah Solar white 110lbs 
Vellum for sentiments
Altenew Black permanent Ink pad

STEPS:

- First I took neenah solar white measuring 5 1/2' x 4 1/4' and stamped it with the stamp called shine like a diamond using versa mark Ink pad and Heat embossed with Gold Embossing powder.

- With the help of Three colours Parrot Green, Autumn Blaze and crimson I blended my colours evenly on the neenah solar white.

- Then I used the Circled greeting Thanks die and cut out the shape from the middle of my embossed cardstock.

- I took my card base from neenah solar white and stuck behind my coloured cardstock.

-On a separate piece of cardstock I stamped roses using the crimson ink pad and green for my leaves and die cut them out using the coordinating dies.

- After sticking my pcs together , I arranged my carved roses and leaves on the front along with some sequins to finish my card.


CARD 2:

MATERIALS:

Geometric Elements stamp and Die Bundle
Fanciful Thanks Die
Geometric Roulette Stencil
Circle Pcs of Vellum
Fine Liner pen set
Black cardstock
Inks; Parrot Green
Neenah Solar white 110lbs 
Altenew Black permanent Ink pad
Antique Gold Metallic Ink Spray

STEPS:

- First on a piece of neenah cardstock , I stamped my one shapes from the stamp set called Geometric Elements.

- With the help of the Altenew Fine Liner pens I started doing some Zentangles and filling those triangles. I love the class from Amber's Zentangle a must do class for those who would like to learn more about it.


- After filling out my triangles with Zentangles , I die cut out them . And on a separate 5 1/2' x 5 1/2' card stock I used the stencils along with the parrot ink to create my background. 


- After that I sprinkled some of the gold spray on my stenciled piece. And also arranged all those Zentangled pcs on the cardstock.


-For the center I cut out a circle from a piece of vellum and also Die cut 3 pcs of Thanks from a black card stock. I stuck all the 3 pcs of thanks together to get a dimensions on my sentiment.


- To finish of my card I put them all together .


CARD 3:


MATERIALS:

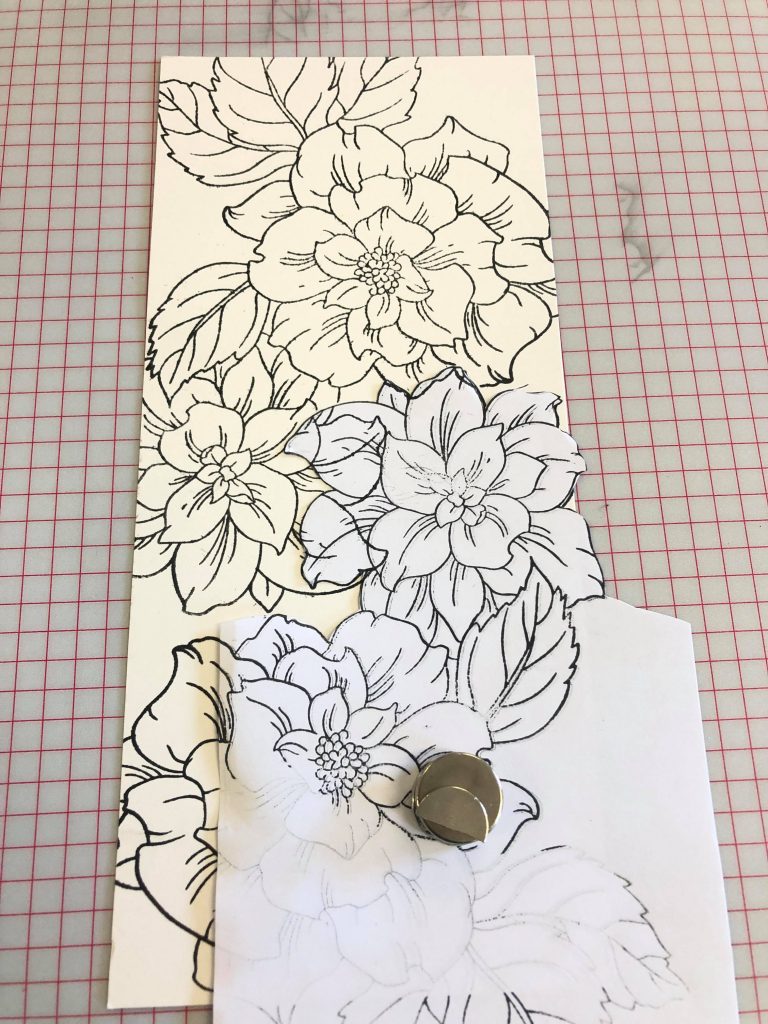
Stamps Precious's Blooms

Shine Like a diamond

Black permanent Ink

Hanging Garden Die

two Shades of grey Ink pads

STEPS:

- First I used Shine like a stamp for my background and stamped on a Neenah solar white measuring 4 1/4' by 5 1/2' cardstock . 

- Then I trimmed the cardstock in slant so that a part of black cardstock is revealed.

-  I stamped my sentiments with white embossing powder on black cardstock.

- I also stamped the flowers from Precisions blooms using my warm grey ink pad sets.

- For my leaves I trimmed and used positives and negatives to have a bit of greenery in the background.


 CARD 4:

MATERIALS:

Gem Frame die

Carved rose Stamp and die

Three shades of Ink pads

Neenah Solar White cardstock


STEPS:

- For this card I cut out two pcs of Gem frame die and also stamped the carved roses and leaves and die cut them out using my coordinating dies.


- I also had three pcs of card stock which are Black - 4 1/4'x 5 1/2' , Red is 4 x 5 1/4' and white is 3 3/4' x 5
- Then I arranged my pcs on the cardstock and I used the Congrats Sentiments from from stamp set called geometric patterns.


Projects:  

We welcome any projects that feature our Altenew products! Please refrain from using other companies' branded labels on project photos, especially for product categories that are currently available in the Altenew store. Just make sure that an Altenew product is the focus of your project.

 Please create a project(s) that features "Floral with Geometric Elements". You can create card sets, wedding/anniversary cards, friendship cards... home decor projects, etc.   

Prizes:

Altenew is giving away a $30 gift certificate to 1 lucky winner! Please leave a comment here on the Altenew Card Blog(https://wp.me/p6Dps1-cz1) by 12/21/2020 for a chance to win. 


We’ll also draw a winner to receive a $15 Altenew gift certificate from the comments left on each designer’s blog on the blog hop list below. All winners will be announced on the Altenew Winners Page on 12/23/2020.


There’s MORE! What’s a hop without YOU?! We have included an Inlinkz

for you to enter your gorgeous Altenew “Floral with Geometric Elements” creations. We will pick 2 of our favorite handmade creations from those who joined the linky party and they will each receive a $15 Altenew gift certificate!


Hop list:


Nenette S. Madero


Kari VanNoy


Helen Kalb


Teresa Litchfield


Colleen Balija


Rachael Shedeed


Pam Boedeker


Nandini Karmarkar


Amber Rain Davis


Neha Aggarwal YOU ARE HERE


Amy Hill


Teri Wilson


Terri Marie Koszler


Eva Bussom


Sandra Woodson


Irina Fonina


Jaycee Gaspar


Roteja Galvan


Teri Stokes


Michelle Ochoa Murray


Rosie Neustaedter


Patty Mello


Virginia Lu


Your next hop is Amy Hill.

Hope you all like it. please do let me your valuable comments below. 

Thanks

neha

Saturday, October 24, 2020

Last DT project for Helmar with Scrap Dots


Hello Everyone

Today , I am sharing a card which I have made for Helmar. I have used Altenew Flowering citrus Stamp , Bleeding Tissue papers and scrap dots from helmar.

This image has an empty alt attribute; its file name is IMG_8827-500x426.jpg

For the Process please hop on to my Youtube Channel on how I created this lovely project.

Materials used for this projects are:

https://www.helmar.com.au/Helmar-Products/liquid-scrap-dots.html

Altenew Flowering Cistus Stamps but you can use any other layering stamps

White embossing Powder

Versamark Ink pad

Hope you all like it. Please do leave me a your valuable comments below.

It was absolutely amazing 6 months working with Team Helmar.

Thank you so much team helmar for all your support and Love.

Regards

neha


Wednesday, August 26, 2020

Peony Paper flower with Helmar 450


Hello everyone

Today , I have created a peony flower and sunflower using helmar 450. the flower tutorial was given by a lady from Thailand and I just put them together with the help of her tutorial. She did send me all the supplies to make my flowers.

This image has an empty alt attribute; its file name is 118083417_653847468672281_1567943773260783188_n-626x1024.jpg


This is the lady who did her tutorial


I after shaping my flowers I have layered them on a floral stem using helmar 450

Materials used are :

https://www.helmar.com.au/Helmar-Products/450-quick-dry-adhesive.html

For flower materials all Supplied by BaoPhuong Jasmine from thailand

Hope you all like it.

Thanks

neha


Friday, July 17, 2020

Zentangle Creative Frame with Helmar Gloss

Hello Everyone,
Today , I am sharing a project which was created partially created by my son and the rest by me. As I my son is in his school holidays so we went to local bunnings shop and bought a MDF frame.
I also bought some Acrylic colour pens from Life of color and I loved how smooth they are to work with.
So firstly my son did some zentangle on the frame with Life of colour Black pen and made some geometric design on it.
Then i went ahead and filled it with the some coloured life of colour pens .
Once finished off my painting I sealed it 2-3 layers with the Crystal Kote Gloss Varnish. to get a glossy finish.
Hope you like my project .
The products which I used from Helmar you can buy them on this website.
https://www.helmar.com.au/Helmar-Products/crystal-kote-gloss-varnish-spray.html
I really enjoyed this project making it with my son as his holiday project.
Hope you all like it
Thanks

neha

Friday, July 10, 2020

Altenew July 2020 Stamp/Die/Stencil/Ink Release

Hello Everyone,
Welcome back again to my blog.
Today I am sharing my project as a guest designer for Altenew again . Sorry my post is a bit long as wanted to explain on how I create my cards.


Here are my projects. Its was really a fun and a good way to challenge myself for this. Projects which I have created are show casing the new July release for Altenew.
Project 1: Luminary With Floral In "N" Out Border Die


Materials Needed:
  • Altenew Floral In N Out border die
  • Cardstock Measuring 8 inches x 13 inches ( do not cut the barcode out)
  • Glitter or Mirror Cardstock 4 3/8 inch x 4 3/8 inch
  • Glitter or Mirror cardstock 2 inches x 13 inches
  • Lights to put inside the box
  • Altenew Tabbed Die
Steps:
  • Keeping the shorter side on the top Score at 1 3/4 inches
  • Now keeping the cardstock on longer side score at 3', 6' , 9' and 12 inch. (see the picture for reference).
  • Before moving on to cut the edge put your dies on the box area to die cut the images out.
  • Now cut the areas as shown in picture. Only till the 1 3/4 inch fold.
  • Once its ready put everything together with the help of glue or strong tape.
  • Your semi finished Luminary will look like the picture below.
  • Now making the lid and the legs.
  • For the lid I took a glitter card stock which measures 2 inches x 13 inches.
  • Now score the glitter cardstock at 1/2 inch on the long side.
  • Also score on the short side at 3 inch , 6 inch, 9 inch and 12 inch.
  • For making it look like legs I used the Altenew Tabbed dies to make the legs.
  • Assemble the legs just like the box was assembled and stick at the bottom of the box.
Bottom once put together will look like this
  • Now making the lid;
  • For the lid take a glitter card stock measuring 4 3/8 inch x 4 3/8 inch
  • Score it at 5/8 inch all around and cut slits on 4 sides as shown in the picture
Once they are all assembled together the finish Luminary will look like these.

Project 2: Fold Out Flat Box Card
Materials Needed:
  • Altenew Circled Greeting Die Thanks
  • Cardstock Measuring 5 1/2 inches x 8 1/2 inches (base cardstock)
  • Cardtsock 1 inch x 5 1/2"
  • Pattern paper from Cheerful meadows paper pack 4 pcs 2 inches x 5 1/4 inch
  • back cardstock
  • Pattern paper circle slighly bigger to cover your thanks circle
  • Halftone circle dies
  • Two small circles from halftone nesting circle dies
  • Sentiment from Courageous You stamps
  • Altenew Permanent Ink pad
Steps:
First I took the cardstock 5 1/2 inch by 8 1/2" (base cardstock) and score at 2 1/8 inch, 4 1/4 inch and 6 3/8 inch.
Also score the 1 inch strip in half too.
The I glued all my pattern paper to my bases. I have got two red base , 1 flower side and one black for sentiment side.
Once I was happy with everything then I stamped my sentiments from the Stamp set Courageous You , the sentiment which I used is "You are great".
Now for the assembly of this. Take that 1 inch strip which was scored in half and stick on the one side of the base cardstock from inside ( this will look like a flap). apply some adhesive on the other 1/2inch and stick on the other side of the base card stock making it look like a box.
Now coming on the other side.
First I cut out my Thanks circle on a black cardstock then I took a circle die which is slightly bigger than your thanks circle and die cut that out. Once this was done I used the same circle die to cut my pattern paper circleout too.
Adhering that to the corner of your box. This was not that tricky. Here is how I did. I used those two smaller circle and scored each of them in half . See the picture below on how I stuck them on the base box. ( I used one of the button punches instead of circle dies)


Then on top of this I stuck my circle thanks. To finish of my card I used some of the clear heart embellishments.

Project 3: Slimline Congrats cards
Materials Needed:
  • Altenew Courageous You Stamp set
  • Altenew Mega label Stamp
  • Bristol Smooth 8 3/4 inch x 4 3/4 inch
  • Back Cardtsock 9 inch x 5 inch
  • Altenew Black permanent Ink
  • White gel pen
  • Watercolour Brush markers.
  • Masking Paper
Steps:
For this card first I stamped my images using a making technique on Bristol Smooth paper.
Once stamped my flowers I went and coloured my background with the Altenew watercolour Brush markers. I have used the following colours
  • Ruby red ( Flowers)
  • Midnight Violet ( Flowers)
  • Sea Breeze ( Flowers)
  • Turquoise( Flowers)
  • Evening Grey (background)
  • Moss (leaf)
  • Limeade (leaf)
  • Fresh Lemon ( Flowers)
After they were all dried I used white gel pen to give some little dots in between my flowers.
For my sentiments I stamped congrats with mega label and stuck on my card finishing it with the back mat behind. I also added some pearls on my card.
Project 4: Card with Floral In N Out Border Die
Materials Needed:
  • Altenew Floral In N Out Border Die
  • Altenew Starry Flower Stamp
  • Altenew Satin white Sequins
  • Altenew Coral Charm Stamps
  • Black Cardstock 7 inch x 3 inch
  • White Cardstock 7 inch x 3 inch
  • Kraft Cardstock 4 3/4 inch x 6 3/4 inch
  • Kraft cardstock 2 1/4 inch x 6 3/4 inch
  • Black cardstock 2 1/4 inch x 6 3/4 inch
  • Altenew Black permanent Ink
  • White spray
Steps:
First I took the piece if Kraft cardstock which measures 2 1/4 inch x 6 3/4 inch.
I die cut out the border from that Strip of cardstock.
Then I took the back card stock with same measurements I turned my border die and outlined the die on the black cardstock.


Then fussy cut my out line to give a back backing on the cut out image.
On my base Kraft cardstock I then went and made a line slightly on the left of the middle of my card stock so that I can stamp some foliage on the other side of the card . For my foliage I have used the coral charm stamps.
After that I stock my die cut out Border with the Black mat on the line of the back cardstock. Sprayed some white and put my Satin white emblishments.
Stamped my sentiments from the stamp set called Starry flowers and then got my black and white backing on the back of the base Kraft cardstock.
Product Links: Please click HERE to see the links to our new products. Here is the link to the July 2020 release collection page, listing all of the new products: https://altenew.com/collections/summer-fun-release
Layering Guides: Please click HERE.
Hoping I have inspired some of you.
Please do leave me a comment and your tips for any improvements needed.
Regards

neha
 photo oldswirl_zps9e8ffa8f.png