Friday, October 31, 2014

Make it With Scraps Friday - DT Deni

Hi Everyone, DT Deni here! Sorry for the delay in my post today.

We had our Papercrafts Show on and my friend invited me to go with her :-) As always I spent way too much, but had a well deserved day out.

Onto my Card... Last week a friend put a big order in.. 29 cards! I couldn't believe it.. so happy :-) I had also during this time been talking to a guy I went to school with and he asked if he could have 2 of each of the designs I was making for her.. I couldn't believe it! I ended up having 42 cards on order this week so have been super busy with them. I had to make some of my cards with leftovers from the others. It worked out well.

I ended up cutting the squares with 2 dies.. when I cut both the red pattern and the bauble pattern I cut them using a large stitched square from MFT Dienamics Blueprints 8 die set and at the same time placed the square die from MFT Die-Namics Blueprints 12 in the centre and cut it at the same time.. so I ended up with one small square and one 2cm square border piece..so I placed the bauble piece inside the red pattern and it looked awesome. I did the opposite on some of the other cards. This allowed me to have enough of the matching pattern papers to finish some of my cards. The Sentiment stamp is from CC Designs Amy R Happy Christmas Sentiment Set. The snowflakes are from another CC Amy R stamp set.


Hope you like my card, again apologies for late posting :-)

Glitter Text @ Glitterfy.com

Thursday, October 30, 2014

Make It A Card Thursday - DT Deni

Hi Guys,
DT Deni here.
I am back today with A Make It A Card Thursday for Auzz Trinklets N Krafts.

For my Card today I have used an image from Some Odd Girl, Summery Mae, she is available as a Digital File only.

The image has been coloured using Copic Markers Purchased from Craft-a-Lot here in Australia, they also ship internationally.


Copic Markers Used

Skin E000, E00, E21, E11, R20
Hair Y21, YR31, Y15, Y26, E23
Skirt Y11, Y15
         YG21, YG25
         BG23, BG45
Necklaces YR24, YR27
Single, Hat & Thongs R81, R83, R85

On this card I have used

La La Land Crafts - Heart Banner
Versamark- Watermark Ink Pad
My Favorite Things - Stitched Circle Stax
X-Press it Double Sided Tape
X-Press it Blending Card
Twiddleybitz Card Base
Tim Holtz Tea Dye Distress Mini Ink Pad
Ranger White Super Fine Embossing Powder
Ranger Silver Embossing Powder
Sentiment is from CC Designs Amy R Stamps

Thanks for stopping by,

Deni x


Glitter Text @ Glitterfy.com

Tuesday, October 28, 2014

Colour With Me Tuesday 3 - DT Deni

Hi Everyone,

DT Deni here, I have recorded another video on ustream for you today. http://ustre.am/:3H1Xr

I have used an image from CC Designs called Witch Emma. She has been coloured using Copic Markers.

Copic Markers Used

Skin E000, E00, E21, E11, R20

Hair E50, E31, E33, E35

Clothes & Hat V01, V04, V06, V09 N3, N5, N7

Hope you enjoyed my video. If you would like to have input into what I do next week leave a comment on the facebook post.

DT Deni :-)

Monday, October 27, 2014

Boo! - DT Sarah-Jane

Hi Everyone,

I am a little bit excited about this weeks Mixed Media Monday! It's Halloween themed, I love Halloween! It is my favourite time of the year, I just wish here in Australia we would "jump on the bandwagon" so to speak and celebrate it with a little more than just kids in poorly made costumes knocking on doors of houses where they get turned away!

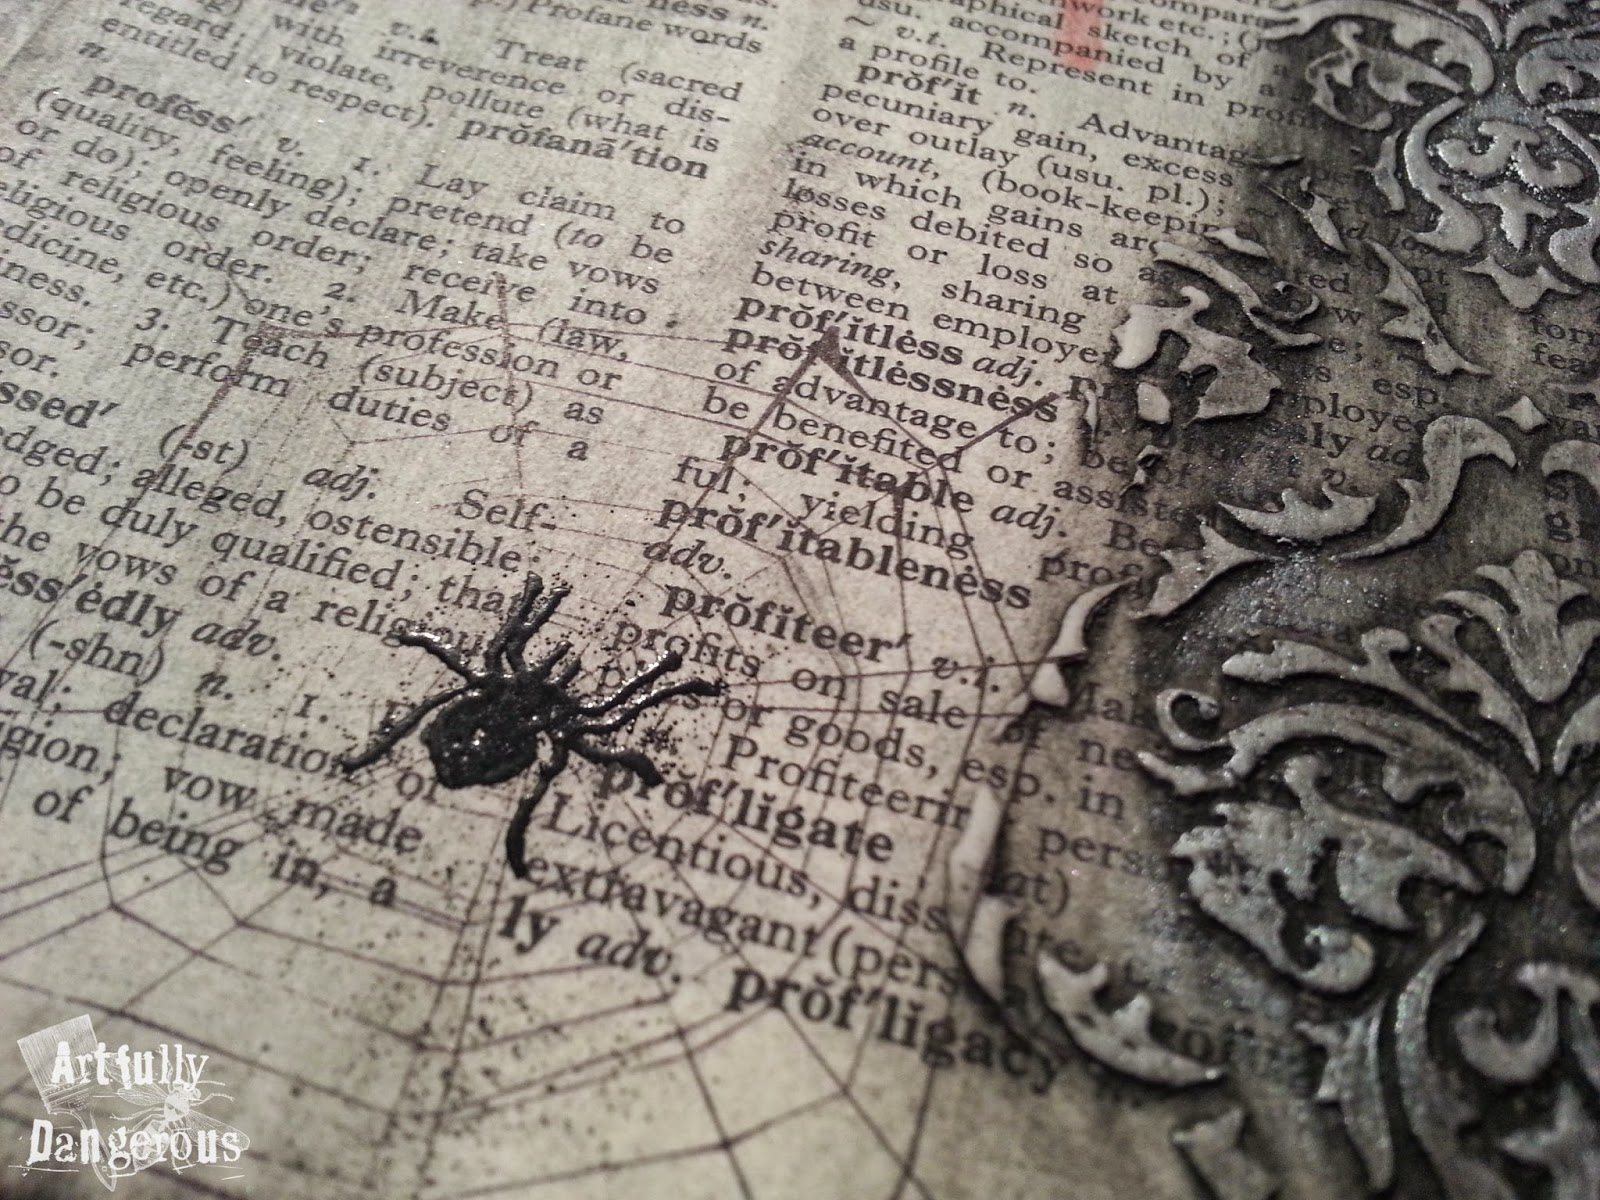
Well here is this weeks creation, I had a lot of fun making this spread there are just so many different elements that I have used on the page.


Doesn't it look great! I tried to use minimal colouring to make it look spooky using only black and the smallest amount of red ink for the blood spatters.


Materials Used:

- Liquitex Clear Gesso
- Reeves Modeling Plaste
- Tim Holtz Layering Stencil (Gothic)
- Jo Sonja's Acrylic Glazing Fluid
- Semco Acrylic Paint (Black)
- Distress Ink (Black Soot)
- Memento Ink Pad (Lady Bug)
- Kaisercraft Clear Stamp (Splatters)
- Tim Holtz Found Relatives
- Ranger Archival Ink (Black)
- Ranger Perfect Medium Pad
- Ranger Embossing Powder ( Black)
- Ranger UTEE (Clear)
- Tim Holtz Stamps (Mini Halloween #3)
- Tim Holtz Alterations Die (Ornate Frame)
- Tim Holtz Ideology (Alphabet Cards, Adornments Crossbones, Film Strip)
- Muslin Fabric
- Viva Decor Inka Gold (Silver)
- Tag (Black)
- Tim Holtz Paper Stash (Laboratorie)

Well thats all....... check out Auzz Trinkletz n Kraft website to purchase some of these products. Don't  forget to check back on Wednesday for some great storage ideas for wash tape!

Until then

Caio


Sunday, October 26, 2014

Sunday fun day emblishment making technique 5

Hello everyone .

Another tutorial on making burlap flowers.

 This video on burlap flower done by Cool2carft in her you tube channel.


Hope you all will have fun and enjoy ...

Don't forget to follow our blogs for regular techniques and other DT projects.


Thanks


DT-Neha

Friday, October 24, 2014

Make It With Scraps Friday - DT Deni with GDT Jess

Hi Everyone, today I have asked my friend, and a customer of Auzz Trinklets to guest DT for us, she jumped at the chance :-) Here is her card and a little run down of what she does.

If you like her card let us know and we may ask her to share with us again :-)

DT Deni


Hi guys! My name is Jess, I run Jessidee Handmade which can be found on Facebook Here . I was asked to do a guest DT post for this week, so here it is!

Here’s what I started with, I knew I wanted to make a baby card, so I went through a bunch of paper pads and found these three papers, that matched well, they are from American Crafts, and Lawn Fawn –


The next step, was choosing a stamp set, I chose the Lawn Fawn Critters on the Savannah set which I purchased from Auzz Trinklets recently, I used the giraffe and stamped it on to the yellow paper.


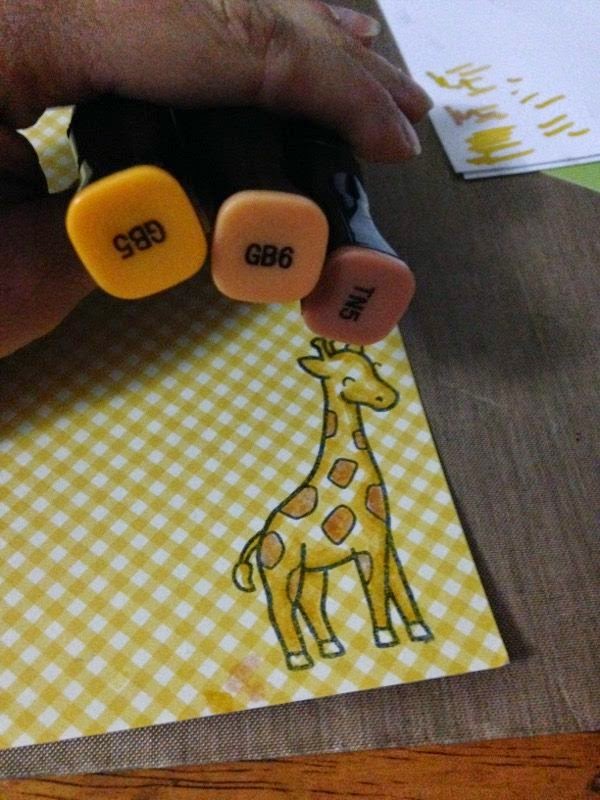
I grabbed my Spectrum Noir Markers and coloured the giraffe in leaving some of the checks visible, then fussy cut him out. I stamped my sentiment on the “notebook” paper and attached the giraffe next to it.


For the card design, I used a die to cut the border, and notepaper and layered everything up. I grabbed some white satin ribbon, and tied a bow, I also doodled around my layers (it’s my thing)


Here is the finished card.


Don’t forget to pop over to my Facebook page, to see more of my work J


Supplies Used

Lawn Fawn “Critters on the Savannah” Stamp set

Lawn Fawn “Into the woods” Paper Pad

American Crafts “May Berry” Paper Pad

American Crafts “My Girl” Paper Pad

White Card stock

Kraft Card stock

Notepad paper

White Satin ribbon

Sequins, in various colours/sizes

Spectrum Noir Markers TN5, GB6, GB5

Polka dot embossing folder


Thanks for allowing me to be part of your Guest DT.

Jess

Thursday, October 23, 2014

Make It A Card Thursday - DT Deni

Hi Everyone :-)

DT Deni here for Make it a Card Thursday. If you haven't already please hit follow here on the Auzz Trinklets blog, and on the Dt's Blogs, we would appreciate your visits .

Now let's get down to it.

A friend's husband is celebrating his Birthday on Halloween, so she asked me to make him a special card. It needed to be Halloween themed but be able to have a birthday sentiment.

I have used two La La Land Crafts stamps which I have merged and made into a combined image.

I have used Lil Devil Marci and Vampire Luka, you can order these stamps through Auzz Trinklets N Krafts.

I have coloured the images using Copic Markers purchased from Craft-a-Lot here in Australia, you can find a list below of the markers used.


Copic Markers Used

Vampire Luka

Skin E000, E00, E21, E11, E04, R20
Hair E27, E29, E49
Buttons YR24, YR27
Clothes V15, V17, V09
              C7, C9, 100
Broach YR27, YR27

I have added Wink of Stella Clear to the Bats

Lil Devil Marci

Skin E000, E00, E21, E11, E04, R20
Hair E27, E29, E49
Clothing & Boots R24, R27, R29, R59
                             C7, C9, 100

Items Used On This Card

Twiddleybitz Card Base
X-Press it Blending Card
Cre8tiv Kids Black Paper
X-Press it Double Sided Tape
Versamark - Watermark Stamp Pad
Vellum - from stash
Fiskars Stamp Press
Magnolia Fence Die
Magnolia Castle Die
Cc Designs, Amy R Stamps - Spooked Out
Ranger Embossing Powder - gold
My Favorite Things - Paper Bag Peek a boo
Sugar & Spice Studio - Happy Halloween

Don't forget if you would like us to visit you at your blog, just send us a link of a recent card you have made on your blog and we will stop by.

Thanks for visiting,

DT Deni

Wednesday, October 22, 2014

Washi Tape Wednesday

Hi Everyone, Sarah-Jane here!

I am a little unwell this week so I have shared a post from my personal blog about making your own Washi Tape.........

I have a lot of washi tape, just a little bit addicted I'd say but really I can stop any time............

Although I do have that much I still find it difficult to find the right tape for the right project, so ............ lets have a look just how easy it is to just make your own.

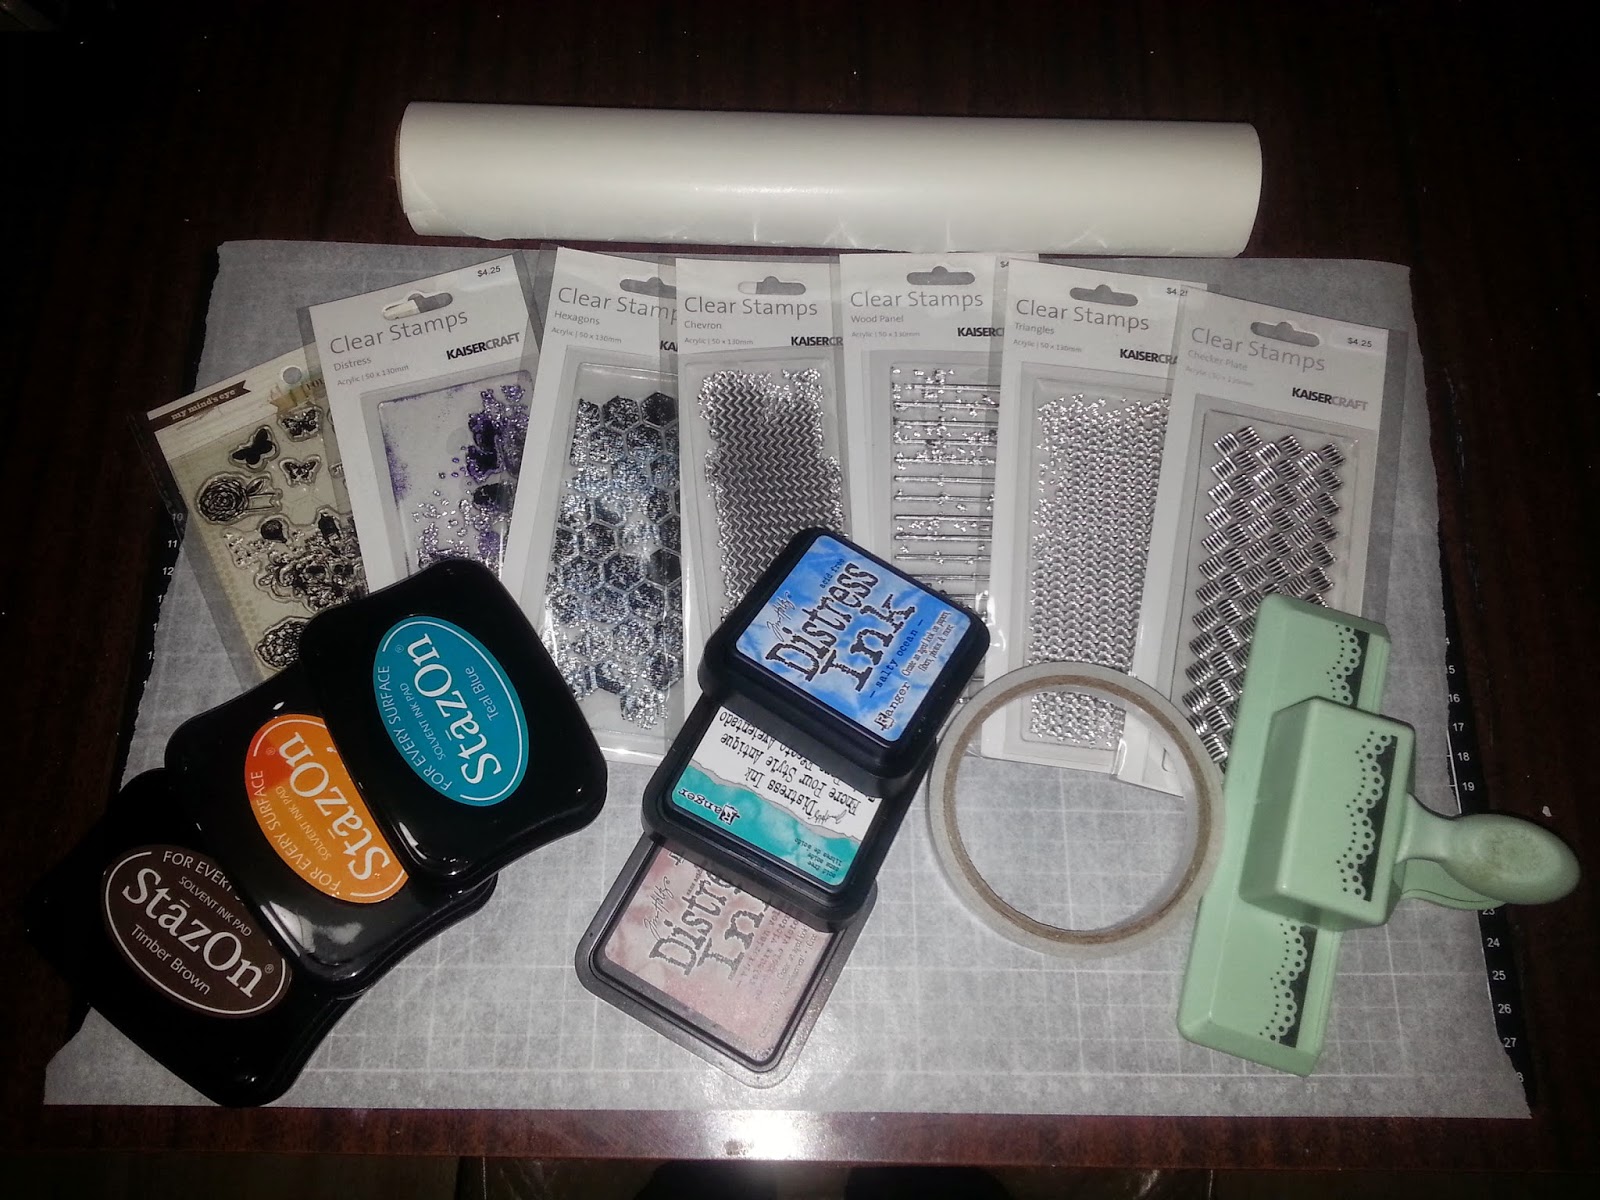
Here is what I used.....


- Baking Paper
- Double Sided Tape
- Various Patterned Stamps
- Permanent Ink Pads
- Distress Ink Pads
- Decorative Edge Punch 


First you need to stick a length of double sided tape to the shiny side of the baking paper, like the picture above. Make sure you use baking paper and not wax paper as the stamping won't stick to the wax paper.


Then you can cut the paper into strips, this can be done after decorating the strips or before, as you can see I chose to do it before I decorated the strips.

Then using various stamps and inks go crazy......... decorate each strip as much or as little as you like. You can keep the backgrounds plain or as I have done lightly run a distress ink pad over them to create color. 


And here is what I came up with, I even used a border punch on the bottom one. 

Well that's it..........Very Easy, and the sky is the limit with what you can come up with and no one will ever have anything like it!

Well thats all for this week, don't forget to come back on Monday to see what Mixed Media Art Journal page I come up with............ here is a sneak peek:


Well see you all next week don't forget to check out my blog and also Neha's Store.

Caio


Tuesday, October 21, 2014

Colour With Me Tuesday 2 - DT Deni

Good Morning Everyone,

Just to let you know I will be going live with a colour along in just under 2 hours on u stream, just click on the link below and open up the Auzz Trinklets Video Page :-)

http://www.ustream.tv/channel/denielle1983

I will be using Spectrum Noir Pencils as my Medium Today. 


Here is a list of the pencils I will be using

Fur 089, 091, 095
Balloon 056, 058
Star 112
Blush 037
Hat 015, 020, 022

You Can see the video here http://www.ustream.tv/recorded/54267770

I will update this blog post once the video is finished with pictures etc.

DT Deni

Monday, October 20, 2014

Enjoy The Journey - DT Sarah-Jane

Hi Everyone!

It's time for Mixed Media Monday, just a short post today I have a Graphic Design Assignment due and to be honest I am struggling just a little!

So here we are this week:


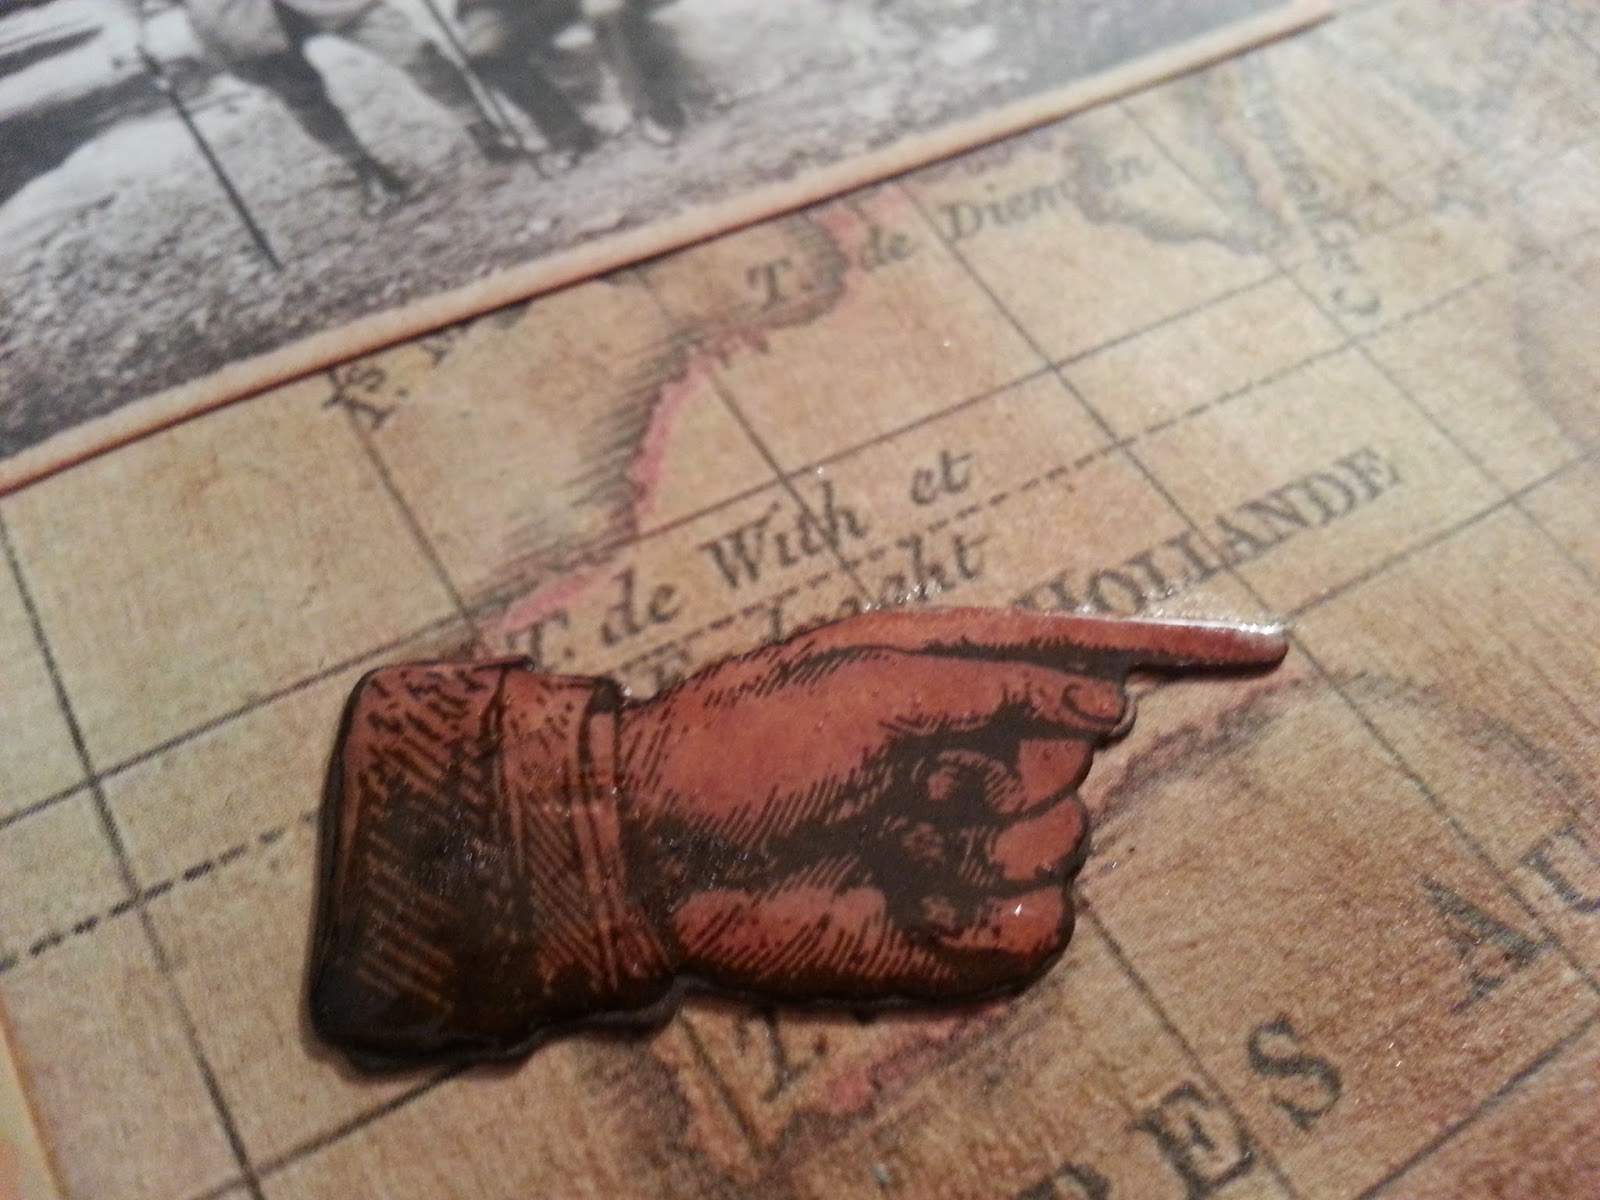
Just a simple spread this week not too many elements, as the background is a lovely sheet of scrapbook paper with an antique map on it. Here are some close up pictures:


In the picture below I have put the pointing hand so that it is roughly pointing to Adelaide where I am from.


Materials List:

  • Kaszazz World Traveller Scrapbook Paper (4487 – Bon Voyage World)
  • Ranger Matte Glue n Seal
  • Liquitex Clear Gesso
  • Semco Matte Acrylic Paint (Brown)
  • Jo Sonja’s Clear Glaze Medium
  • Ranger Archival Ink (Coffee)
  • Kaisercraft Collectables (Check In)
  • 7 Gypsies Colour Rubbings (Tickets)
  • Tim Holtz Ideology Ephemera Pack (Expedition)
  • Tim Holtz Cling Stamps (The Journey, Getting There)
  • Distress Ink (Vintage Photo)
  • Small Ink Blending Tool
  • Double Sided Tape
  • Glossy Accents
  • Baby Wipes
A lot of these products can be purchased from Neha on her website, and the Kaszazz paper can be purchased through me, just leave me a comment.

Well thats all from me for this weeks Mixed Media Monday, don't forget to check back on Wednesday for another instalment of Washi Tape Wednesday.

Caio


Sunday, October 19, 2014

Sunday Fun day DIY paper making technique 4

Hello everyone .

Another tutorial on making your Paper that's right own paper with the beautiful design from paper napkins /tissues.

 This video on Paper making  done by StamperBumper in her you tube channel.


Hope you all will have fun and enjoy ...

Don't forget to follow our blogs for regular techniques and other DT projects.


Thanks


DT-Neha

Friday, October 17, 2014

Make It With Scraps Friday - DT Deni

Hi Again :-)

DT Deni here for Make It With Scraps Friday.

I have used a Stamp from CC Designs, it is from a Set by Sweet November Stamps called Sweet Princesses which is available from Auzz Trinklets N Krafts.. if it is out of stock send them a message and they can order it in for you.

I have cut the stars on this card using My Favorite Things Star Stax. All papers and ribbon are leftovers from my stash :-)


I can't give you colours on the image as it was from my bucket of stamps, however as always it was coloured using Copic Markers purchased from Craft-a-Lot here in Australia.

The hearts are punched from a Martha Stewart Punch.

The card base is from Twiddleybitz and the image is stamped on X-Press it Blending Card using Memento Tuxedo Black.

Hope you liked my card today,

DT Deni

Thursday, October 16, 2014

Make It A Card Thursday - DT Deni

Hi guys,

DT Deni here with Make it A Card Thursday :-)

A Customer had this week asked me to make her two card, one a Halloween birthday for her husband and a Birthday Card her husband from the kids, she hasn't decided on an image for her card yet.

I thought this Stamp from CC Designs would be perfect for the kids card, and the customer loved it.

The stamp Is Funny Faces from CC Designs, it is available in rubber only from Auzz Trinklets N Krafts.

I have coloured the image using Copic Markers purchased from Craft-a-Lot here in Australia.


For this Card I have used

My Favorite Things - Hybrid Ink Black Licorice
Tim Holtz Vintage Photo Mini Ink
Sponge Dauber
Spellbinders Captivating Squares
Tombow Mono Multi Liquid Adhesive
CC Designs Amy R Stamps - All about Dad Sentiments
X-Press it Blending Card
My Favorite Things Cute Cameras
My Favorite Things Mini Film Strip
Kaisercraft Cardstock
Pebbles Party with Amy Locurto -Boy

Unfortuntaely as I was making this for a friend I was in a zone and not keeping track of Copic Colours Used.

Thanks for Stopping by,

DT Deni
http://angelscrapbookgoodies.blogspot.com.au/


Second DT project for Southern Girls Challenge Theme " Words "

Hello Everyone 

Here is my second post for DT project for Southern Girls Challenge .

This time we have been given a theme on "WORDS " and i really enjoyed doing a mixed media Canvas for it . 

So here is my take for it :


Materials Used for this Project :
Kaiser craft Paper for the background, Birdcage ,  artifical birds , artifical moss , leaves and grasses , I have got my quotation printed on the Cameo designing software and got it cut on the white Vinyl. also got one small quotation stamped and cut on the sides of the bird cage . 

I have also used two chipboard words on the side of the canvas. 
And last but not the least my Sospeso Trasparente work which I really enjoy putting where ever I can and its fun and very easy technique to follow.

Hope you all like it 
Thanks
Neha


Wednesday, October 15, 2014

Washi Tape Wednesday - DT Sarah-Jane

Hi Everyone, and welcome to another installment of Washi Tape Wednesday! This weeks technique come directly from the God of Craft........Tim Holtz. This week we are going to make some Washi Tape Flowers. So I am going to let Tim Holtz explain how to make them...


And here are a few of the ones I made:


They each took about 5 minutes to make and are very simple. I will admit while any kind of Washi Tape will work, Tim Holtz's Tissue tape does work the best as it is less tacky than other brands. Still they all look great.

As usual you can purchase many different types of Washi Tape from Auzz Trinklet's N Krafts, and check out my blog for more ideas just click the picture below.

Well that all for this week, stay tuned for more wonderful ways to use Washi Tape next week! 

Caio


Tuesday, October 14, 2014

Colur With Me Tuesday & Bonus Video - DT Deni

Good Morning :-)

It's Colour Me Tuesday here at Auzz Trinklets N Krafts, we don't have any challenges for you yet but would love for you to join us, so do some colouring and either record it and send us the link in a comment or take step by step pics post on your blog, leave us a comment with your a link to your blog post and we will come and visit you.

Today I have a Christmas card for you using a stamp set from CC Designs called Sweet Penguins. Such a cute stamp set to use on your Christmas cards and so versatile.

I normally only colour with Copic Markers, but I have ordered a set of Spectrum Noir Pencils from Auzz Trinklets N Krafts so decided to try playing with my pencils that I already have. These are a cheaper set from a junk shop we have here who has a rather large art & craft section.

I have used these pencils just the same way your would with Spectrum Noir Pencils or even Prismas. Now the problem I worked out is I have been using them on my X-Press it blending cardstock, this is not the cardstock to be using as it is too smooth hence why my pencils were not blending properly and why I was so frustrated that I gave up on them a long time ago.

I decided while I was playing for the first time on Watercolour paper I would record it for you. Unfortunately you don't see me colouring the last penguin as my noisy children decided they couldn't keep quiet any longer lol. But I will post my finished card here so you can see it finished :-)

You can find my ustream video here of me colouring the image.


I have used the following colours on my image
Black - Palm Cockatoo
Green - Green Tree Frog
Red - Crimson Rosella
Orange - Cape York Couscous


Products used on My Card

CC Designs Sweet Penguins
Fiskars Stamp Press
My Favorite Things - Black Licorice Hybrid Ink
Mont Marte Watercolour Paper
Mont Marte - Ultra-Soft Colour Pencils
Mont Marte - Blending Stumps
Art Spectrum - Odourless Solvent
Art Sponge
Kaisercraft - Santa's List
American Crafts - Christmas Cardstock Pad
Sugar & Spice Studio Novelty Ribbon

What you can see on my arm - Fitbit Flex

I really hope you like my card and colouring today, please remember to hit follow on both our blog and the ustream Channel. You can also find this card on my blog here.

Deni

Monday, October 13, 2014

Life - DT Sarah-Jane

Hi Everyone, well it's Monday so you all know what that means............

Mixed Media Monday Time!

This week I had a specific plan for what I was trying to achieve, but as usual it didn't turn out the way I had planned. After completing the background I was not overly happy with how it had turned out, it wasn't until I added a few more things that I ended up being happy with my work.

So here it is:


I cut lots of little butterflies using a Tim Holtz Die and glued them to the page before putting a layer of gesso over the top the hide the writing underneath. I then put a layer of Sky Blue paint over the top and layered that with Twinkling H2O's in Sunflower. It gave the background a green look to it and then I decided that it needed bright colours so I went hunting in my stash for something to make it brighter. 

Here are a few close up pictures:


Materials Used:

-      Liquitex Gesso
-      Semco Acrylic Paint (Sky blue)
-      Twinkling H2O’s (Sunflower)
-      Canson Watercolour Paper
-      Ranger Matte Glue n Seal
-      Kaisercraft Background Stamp (Music Notes)
-      Kaisercraft Collectables (Secret Admirer – Doilies & Icons)
-      Tim Holtz Remnant Rubs (Botanical)
-      Tim Holtz Cling Stamps (Phrases 1)
-      Tim Holtz Alterations Strip Die (Butterfly Frenzy)
-      Tim Holtz Movers and Shapers Die (Butterflies)
-      Ranger Perfect Medium Stamp Pad
-      Ranger Embossing Powder (Black – Super Fine)

Well thats all from me for this week, hope you enjoyed this weeks Mixed Media Monday, and remember to check back everyday for more wonderful creations from Neha and Deni.

Caio


 photo oldswirl_zps9e8ffa8f.png